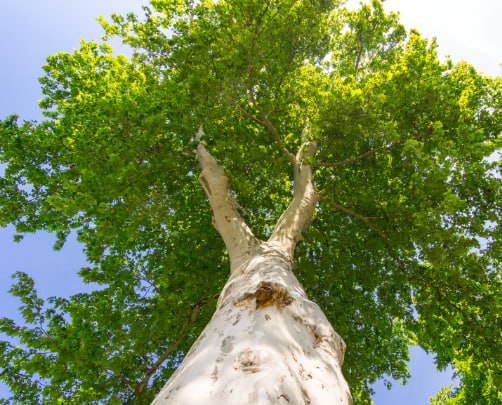
Introduction: Tree crown reduction is a valuable technique in arboriculture, allowing for the management of tree size, shape, and health. While it may seem daunting, anyone can successfully perform crown reduction with the right knowledge and approach. In this comprehensive guide, brought to you by Sittingbourne Tree Surgery, we’ll walk you through the step-by-step process of tree crown reduction, empowering you to care for your trees effectively.
Step 1: Assess the Tree
Before embarking on crown reduction, take the time to assess the tree’s health, structure, and growth patterns. Identify any diseased, damaged, or crossing branches that need pruning and areas of overcrowding or imbalance within the canopy.
Step 2: Set Objectives
Define your goals for crown reduction, whether it’s to improve tree health, enhance safety, or manage growth. Determine the desired size and shape of the canopy and establish a plan for achieving these objectives through pruning.
Step 3: Gather Equipment
Ensure you have the necessary tools and equipment for crown reduction, including pruning shears, loppers, handsaws, and safety gear such as gloves, goggles, and a helmet. Ensure your tools are sharp and well-maintained to ensure clean, precise cuts.
Step 4: Selective Pruning
Begin crown reduction by selectively pruning branches to reduce the overall size and density of the canopy. Focus on removing diseased, damaged branches or interfering with structures or utilities. Make cuts just outside the branch collar and bark ridge to promote proper healing and minimise the risk of disease or decay.
Step 5: Thinning
Thin the canopy by selectively removing inner branches to improve airflow and light penetration. Prune crowded or crossing branches to create a balanced distribution of foliage while reducing the overall density of the crown. Aim to maintain a natural shape and structure while achieving the desired reduction.
Step 6: Drop-Crotch Pruning
For mature trees with dense crowns or co-dominant stems, consider drop-crotch pruning to reduce the overall size and weight of the canopy. Remove entire branches back to their point of origin, known as the drop-crotch, to improve tree stability and promote healthy regrowth.
Step 7: Directional Pruning
Use directional pruning to shape the tree’s growth direction and redirect branches away from structures, power lines, or other potential hazards. Selectively prune branches to promote outward expansion and upward growth while maintaining a clear space around the tree.
Step 8: Stub Reduction
Finish crown reduction by removing any stubs left behind from pruning cuts to promote proper healing and minimise the risk of disease or decay. Trim back protruding stubs to the branch collar, allowing the tree to seal off the wound effectively.
Step 9: Evaluate and Monitor
After completing crown reduction, step back and evaluate the tree’s appearance and structure. Monitor the tree’s growth and health over time, making any necessary adjustments or follow-up pruning as needed to maintain optimal health and aesthetics.
Conclusion: By following this step-by-step guide to tree crown reduction, you can effectively manage the size, shape, and health of your trees while enhancing safety and aesthetics. Remember to approach crown reduction with care and consideration for the tree’s well-being, and don’t hesitate to seek the assistance of professional arborists when needed.
Call us on: 01795 718990
Click here to find out more about Sittingbourne Tree Surgery
Click here to complete our contact form and see how we can help with your tree’s needs.